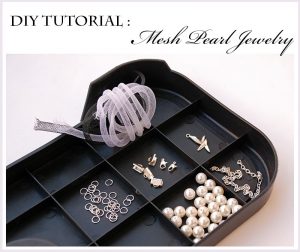
DIY TUTORIAL : MESH PEARL JEWELRY

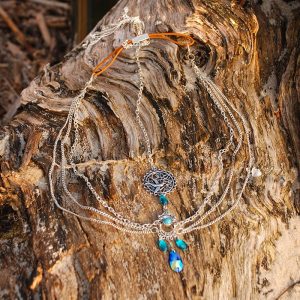
I know that I often post different DIY tutorials on my blog, but at summer I’m always inspired to make some simple pretty things especially jewelry, like a necklace and bracelet as today. I just saw this beautiful mesh tube at the DIY store and thought there are so many creative ideas for using. You can twist it, insert beads, combine different colors etc. For my minimalistic look (see full outfit post here) I chose a combo of black net and pearls, not an ordinary but quite simple design, what do you think? You can find the tutorial below, hope you’ll like it! Thanks for reading, dears ?

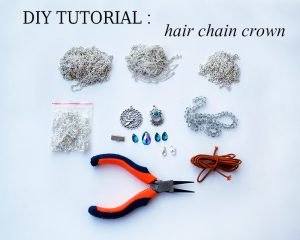
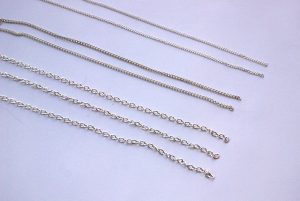
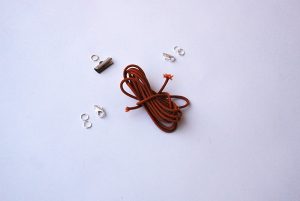
You will need: mesh tube (black or white as you wish, you can buy it in jewelry DIY stores), pearls, clamp 4pcs, clasp 2pcs, finding rings, chain, and pendant for decoration. Read more under the cut ?

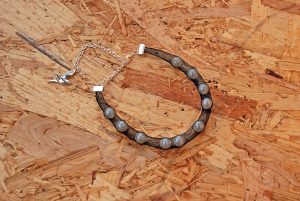
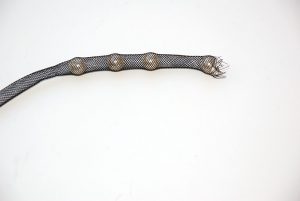
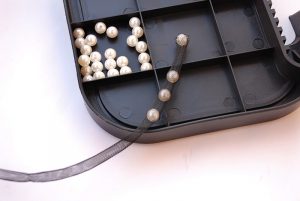
  1. So, let’s begin. We take a reticulum, it stretches a little because of its weaving, and begin to poke in the middle of the pearl. Beads should be chosen so that they do not slip there, and they fit tightly, otherwise, they will not stay in their places, but will “swim” on the grid ?

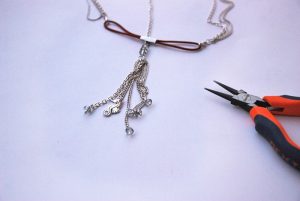
  1. Measure the length of the net that you need (for a bracelet or necklace), and cut it off. Fix the ends with silver clips. If the metal is soft then it is possible and fingers, no – round-bends.

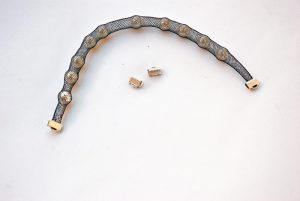
  1. In the clips, thread the rings, to one of them attach the clasp, and to the other – a piece of chain and a beautiful suspension, and all! The bracelet is ready, the necklace is made just as well, only the length of the net is bigger and the pearls are accordingly larger.

DIY TUTORIAL : BLUE AND SILVER HAIR CHAIN CROWN

Today we are going to create something gorgeous in a boho style together! It’s a chain hair crown that was inspired by the beauty of blue sea waves that’s why I added some blue crystal drops and pretty bird charm but you can make whatever you want, just imagine your dream crown! For those of you who don’t like handmade but want such a bohemian hair band, I’ve prepared a set of similar items that can be found online, check it below. Have a good day and hope you’ll like my DIY ?

  1. You will need connector-charms, waterdrop gems with holes, finding rings, crystal beads, different chains, elastic band, clasps, finding clip and round-pliers.


  1.  So, let’s get started. We connect the suspension and immediately-drop with the help of rings and round-bends.
  2. We decorate the bottom of the suspension with stones, beads and prepare rings for future chains.
  3. We take three cuts off the chain thicker, and two pieces of thin chains, measure how much you need for your head and cut it off with a stock, it is better to remove the excess then.

  1. Two pieces of chain are attached to the side rings of the lower suspension, and the third will go along the hairline, vertically.
  2. Other thin chains hang on the lower rings, they will hang from the head, so unlike the thick chains, they do not need to be tightened over the head, they should be free to lie in a semicircle.
  3. On this, you can finish the decoration and fasten the chain with carbines, but I like the option with an inserted rubber band, I tried differently, but it’s so convenient to wear it, it does not put pressure on my head and does not interfere.

  1. The picture below shows how to fix the elastic: we fix the side chains with carbines and connect it to the elastic band, and fix it in the ring with a clip that connects to the vertical chain (which goes through the hair extensions). Well, in general, I hope you understand the idea ?
  2. From the remains of chains, beads, etc., I made a fringe suspension, which is fastened behind like a tail.

All decoration is ready so quickly!